The death and rebirth of my home server
Published by steen on tagged #nix #homeserver
A few evenings ago my partner and I were in the mood to install this particular Linux ISO. The guys from Red Letter Systems had spoken of it well, it had good reviews on boundingboxd, and my partner liked the installation trailer.
I opened Tremotesf on my phone to check whether I already had it on the Pi, but the torrent list wouldn't load. The SMB mount wouldn't mount. I couldn't SSH into it either.
Not eager to ruin the evening by starting a debugging session then and there, I chalked it up to a simple issue with the recent changes I made to the NixOS configuration and resolved to take a look at it the next day.
The next day
I hooked the Pi up to the dedicated debugging display I have in the closet, cracked knuckles, said "it's debugging time" or something to that effect, and rebooted the brick.
The current NixOS generation started booting, loaded the kernel and... hung there. No more output. The previous generation did the same. I took the microSD card out for further inspection.
The first obvious step was to fsck it; the power had mysteriously gone out in the whole building a few days prior, and perhaps it happened right when one of the blocks containing some files important for the boot process was being written? Anyway, it was worth a check. fsck.ext4 reported and fixed lots of errors. Running it again reported the FS as clean, but ejecting and then plugging the card back in turned up more errors...
Long story short, the card was likely dead, and the blackout had simply delivered the coup de grace. Press F to pay respects.
Taking inventory
This Raspberry Pi 4B had been running for years almost 24/7 so this didn't come as a surprise. My understanding is that SD cards can sustain a comparatively small number of write cycles before they start to fail. The surprising part was that mine managed to run for so long with no issues, considering how badly I'd been treating it. The microSD was mounted as the root FS and I had taken next to no precautions to minimize writes.
I didn't lose much, all things considered. The important stuff mostly lived in external HDDs and the configuration lived almost entirely in my NixOS configuration. The only things that lived on the microSD card and I had no backup for were .torrent files and caches for Navidrome, Jellyfin, and slskd, all of which I could easily regenerate. Immich's data was safely backed up on an external drive and I was taking regular backups, so nothing was lost there.
I've never had a "primary" drive die on me like this before; the worst I've seen were a few dead flash drives that contained nothing important. The fear of a dead drive and lost data has resided in the back of my mind ever since I was a teenager and accidentally the main OS X partition on my macbook while trying to install Linux for the first time, but now it's worse than ever, so I wanted to take strong precautions.
Configuring the new setup
I set out to rebuild my home server with a few things in mind:
- Try to minimize writes to the microSD.
- Have some redundancy in the data stored on external hard drives.
- Back up everything important.
Swap, /tmp, and other volatile data
Swap is useful to have, even with the 8GB of RAM on my Pi, but I don't think swapping to the microSD is a good idea if I want it to live long, so I could either swap to an external HDD (very slow) or use zram.
zram, formerly called compcache, is a Linux kernel module for creating a compressed block device in RAM, i.e. a RAM disk with on-the-fly disk compression.
The common uses for zram are swap or /tmp. I chose to enable zram for swap but not for /tmp, which I kept as a normal RAM disk; I'm not 100% sure how these two features interact but I figured I'd let the kernel figure out how and when to swap out the cold pages in /tmp to the compressed swap rather than reserving a separate block for it.
{
  # Enable in-memory compressed swap device
  zramSwap.enable = true;

  # Use a RAM disk for /tmp
  boot.tmp.useTmpfs = true;
}
I also chose to have journald log to memory rather than to disk. I need to investigate whether it's possible to log to memory and only occasionally flush to disk (in which case I'd mount /var/log to a subvolume on an HDD) but I haven't figured that part out yet.
{
  # Store journal logs in memory to /run/log/journal
  services.journald.storage = "volatile";
}
The microSD card remains mounted to /, but I disabled atime because it causes writes whenever a file is accessed and I don't think it's very useful.
{
  fileSystems."/" = {
    device = "/dev/disk/by-label/takodachi";
    fsType = "ext4";
    options = [ "noatime" ];
  };
}
External HDDs
If you live in the current year of 2026 you probably know this is not a good time to be buying any new drives (or RAM, or GPUs, or anything that can be used to build datacenters and feed the pockets of executives enraptured by AI psychosis) and that it's a better idea to get scrappy and creative with what you have.
I have tons of drives lying around of all sorts of makes, sizes, and ages. I treat them mostly as cold storage for old data that I kinda want to keep; they're the digital equivalent of a junk drawer. I've always wanted to immolate them for a higher purpose but never quite found one until now. I took two of these old 2.5" HDDs from the pile.
The first was a 500GB drive that contained a Windows filesystem. This used in my partner's laptop; a 3KG behemoth from another era of business machines, meant more as a desktop you could easily move to another desk and occasionally bring home rather than a truly portable machine. First I swapped out the HDD with an SSD as an act of mercy on the dying laptop; eventually I set my partner up with a Surface Pro 5 running NixOS and they kindly gave me the old laptop and HDD to play around with.
The second was a 320GB drive that seemed to contain... a home assistant installation? I have no idea how that ended up there. Anyway, this was a Hitachi drive with an apple logo on it, so it used to be inside either my 2006 white plastic macbook or a mac mini of a similar vintage.
I connected these two pieces of history to a docking station and created a btrfs pool with raid1 replication. I fittingly named it ポンコツ .
sudo mkfs.btrfs --data raid1 --metadata raid1 --label ponkotsu /dev/sdX /dev/sdYI went with btrfs because it's what I know (it runs on my desktop and laptop), I like subvolumes (more on that later), and I like the flexibility of its pools. You don't have to plan the topology of the pool beforehand, you can add drives to the pool whenever you want, and they don't have to be of the same size.
Subvolumes
My plan was to have one btrfs subvolume per service, and to do it declaratively I created an autosubvol module. The configuration looks like this:
{
  services.autosubvol = {
    enable = true;
    disks.ponkotsu = {
      device = "/dev/disk/by-uuid/<pool uuid>";
      subvolumes.immich = {
        mountPoint = "/var/lib/immich";
        mountOptions = [ "noatime" ];
        requiredBy = [ "immich-server.service" ];
      };
    };
  };
}
The module creates some systemd units:
- One
.mountunit for each disk at/run/btrfs-roots/<name>. - One
autosubvol-ensure-<disk>-<subvolume>.serviceoneshot unit with a script that checks whether the subvolume exists and, if not, creates it. It's configured withRemainAfterExit=trueso that the.mountunit for the subvolume can depend on it. - One
.mountunit for each subvolume, mounted to the specifiedmountPoint. It depends on the autosubvol-ensure.serviceand setsBefore=andRequiredBy=on the units it isrequiredBy.
I think this makes each service module look very clean.
{
  config,
  ...
}:
{
  services.immich = {
    enable = true;
    # ...
  };

  services.autosubvol.disks.ponkotsu.subvolumes.immich = {
    mountPoint = config.services.immich.mediaLocation;
    mountOptions = [ "noatime" ];
    requiredBy = [ "immich-server.service" ];
  };
}
I also created a subvolume for /var/cache for good measure.
{
  fileSystems."/var/cache" = {
    device = "/dev/disk/by-uuid/...";
    fsType = "btrfs";
    options = [
      "subvol=@cache"
      "noatime"
      "nofail"
    ];
  };
}
Backups
Back when I set up Immich I also created a Nix module that acts as a bridge between sops-nix and the restic nixpkgs module. The implementation is only a few lines of code, and it looks like this in my Nix configuration:
{
  internal.backups.restic.immich = {
    paths = [ "/var/lib/immich" ];
    exclude = [
      "/var/lib/immich/encoded-video"
      "/var/lib/immich/thumbs"
    ];
    pruneOpts = [
      "--keep-daily 7"
      "--keep-weekly 4"
      "--keep-monthly 3"
    ];
  };
}
Since each service is on its own subvolume I could probably set up a local backup system using snapshots and btrfs send with a disk entirely dedicated to backups that I'd keep powered off most of the time, but since right now I don't have that many disks and it's getting increasingly difficult to get new ones, I'm gonna leave that for better times. An S3 bucket and replication will have to do.
Groups and permissions
I want several services to have access to my Linux ISOs: Transmission, Jellyfin, Navidrome, and a few others. I handled this by creating a media group and assigning it as an extra group to all the applications that need to read or write those files.
{
  users.groups.media = {};
  users.users.steenuil.extraGroups = [ "media" ];
  users.users.jellyfin.extraGroups = [ "media" ];

  services.transmission = {
    group = "media";
    downloadDirPermissions = "2775";
    settings.umask = "002";
  };
}
The part that makes this work is Transmission's downloadDirPermissions set to 2775. The 2 indicates that the setgid bit is on, which means that if /srv/linux-isos is owned by the media group, every file and directory created inside it will inherit the media group rather than the creator's primary group.
Monitoring
This is one part I haven't fully figured out yet. The only precaution I have taken is to regularly run btrfs scrubs on the pool to connect any errors and decide whether to take a closer look at the S.M.A.R.T stats based on the number of errors on each drive.
I'd like to set up smartd and perhaps connect it to a nice dashboard like Scrutiny, but since I'm running many other services and I wouldn't mind having more statistics on them, perhaps it'd be more useful to set up Prometheus and then figure out how to display everything on a nice Grafana dashboard? I know next to nothing about Grafana so it all looks a bit daunting and overkill to me, but it might be a good learning experience.
Feeding the pool
Let's get back to the spinning rust; we were at two disks in the pool. I wanted to add a 1TB drive to the pool while also copying its contents to it. The disk was already partitioned exactly in half and most of the data was in its back half, so I formatted the front half as btrfs, added it to the pool, copied the back half to the pool, and then extended the btrfs partition to fill the disk. I'm not sure how effective this was in terms of speed, but it saved me a btrfs balance.
To save the Pi some trouble I set up Immich on my desktop and restored from the backup there, and since I avoided moving the thumbnails in the previous steps I regenerated all of them in webp.
This is the current state of the pool: a 1TB disk, a 500GB, and a 320GB one; raid1 for both data and metadata. I'm planning to add another old 500GB disk to it and I'll probably keep it that way until either drive prices go down, or one of the drives dies.
I also have a 10TB disk still formatted with ext4 and filled to the brim with Linux ISOs that I can't reasonably add to the pool, so I'll just back up whatever I think is important and ride it until it dies. #yolo
The new microSD
Since I'm putting much less pressure on the microSD card I went with a 64GB one rather than the 128GB I used before. I searched for a "high endurance" card because they're supposed to have more write cycles before they give up the ghost.
I'm not completely sure what I got in the end though. This whole ordeal happened just a few days prior to the vacation I'm writing this post from, so I ordered a card that would arrive on Saturday: the day before I left. Saturday morning came and the package still hadn't shipped, so I had to cancel it, get off my ass, and walk to the nearest home appliance store.
It wasn't too bad. I took a nice stroll, took a photo of some of those Asian beetles that are invading southern Europe and leaving a trail of half eaten leaves in their wake.
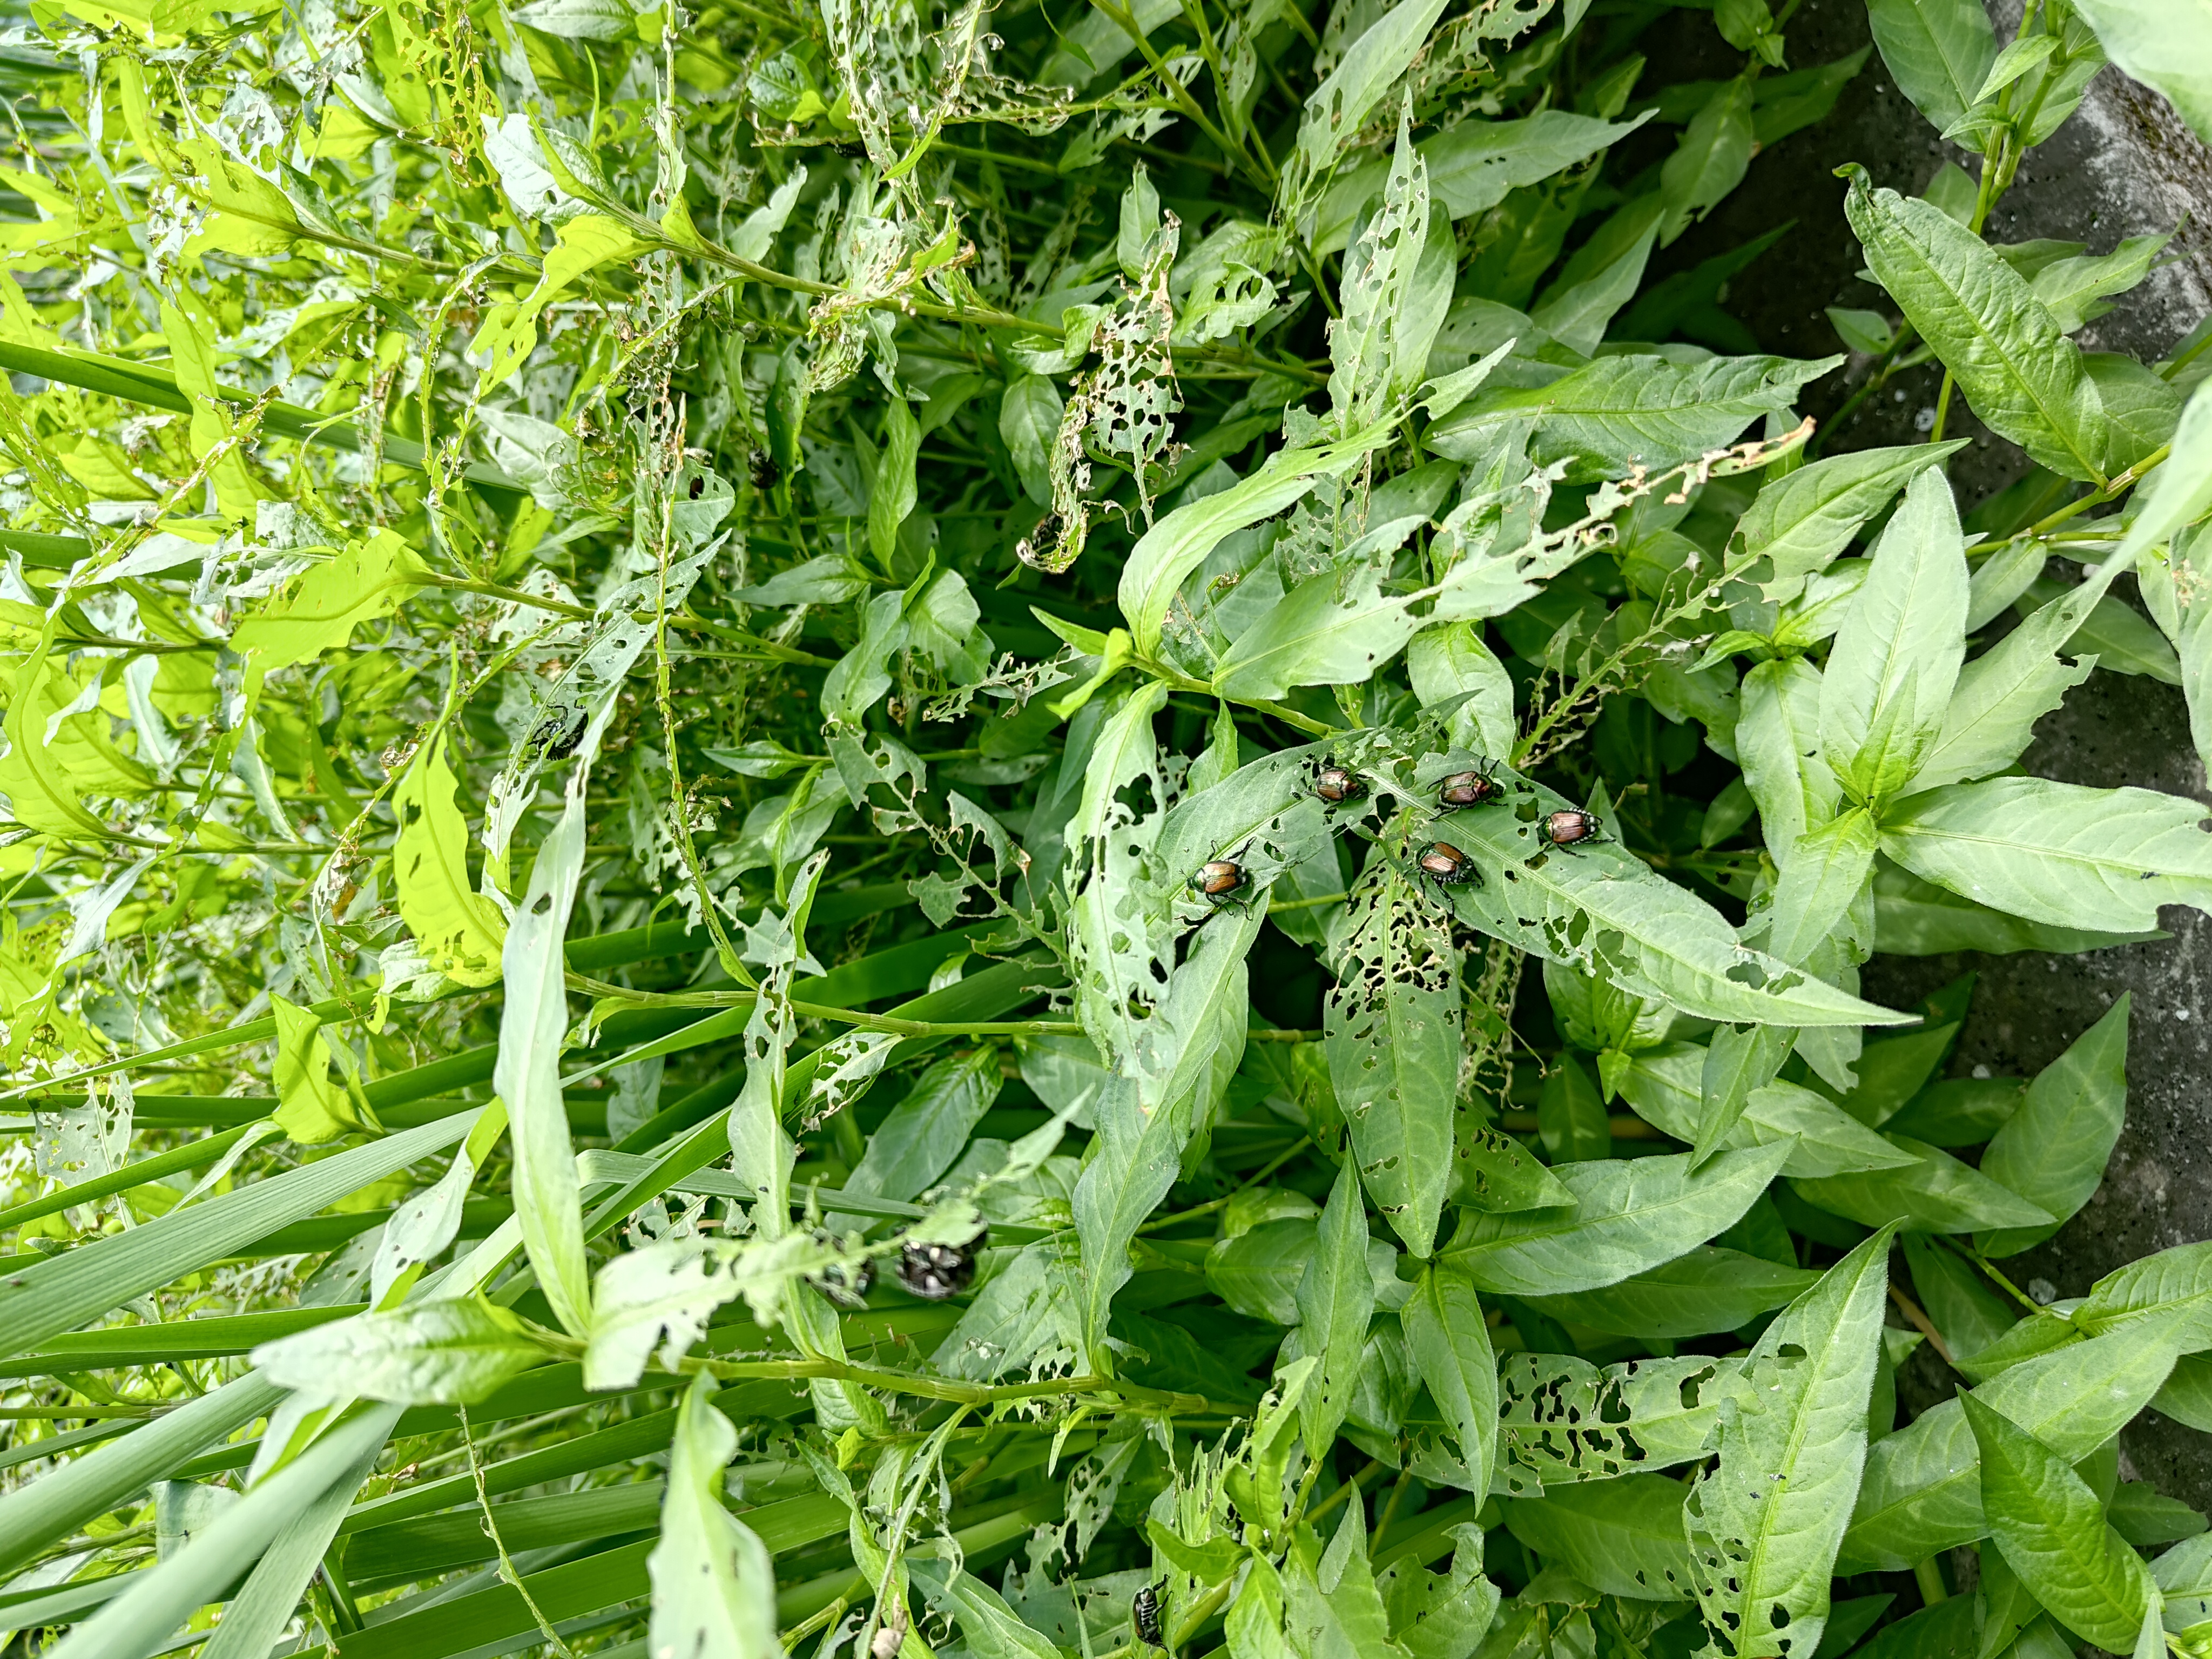
The store had AC. I had a look at the latest gimmick phones. I walked out with a 64GB microSD card claiming to be high endurance, and even a discounted UPS.
Deployment
NixOS is an intimidating project when you're starting out. There's way too much information scattered through the interwebs to fully grasp it. You get used to it though. Your brain does the translating.
You could bootstrap a NixOS installation on a Pi by downloading the official NixOS image and start from an empty system, or you could just know in your heart of hearts that all you need is this module:
{
  modulesPath,
  ...
}:
{
  imports = [
    "${modulesPath}/installer/sd-card/sd-image-aarch64.nix"
  ];

  sdImage.rootVolumeLabel = "takodachi";
}
To be able to cast this incantation:
nix build .#nixosConfigurations.takodachi.config.system.build.sdImageWhich will build an .img file that you can dd to a microSD card to get your system up and running, with no intermediary steps.
Finishing up
After imaging the microSD card all I had to do was hook everything up to the new UPS and plug it in, and in a few seconds I could SSH into the Pi and start resolving some minor issues with the new configuration.
I left for my vacation a bit late, but with Navidrome up and running and able to serve music to listen to on the drive there.